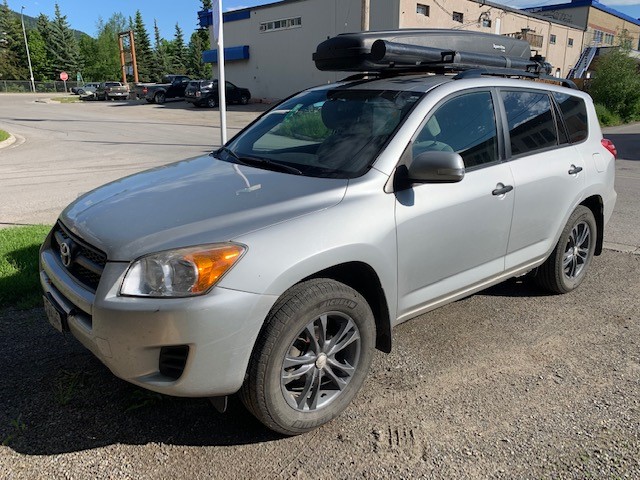
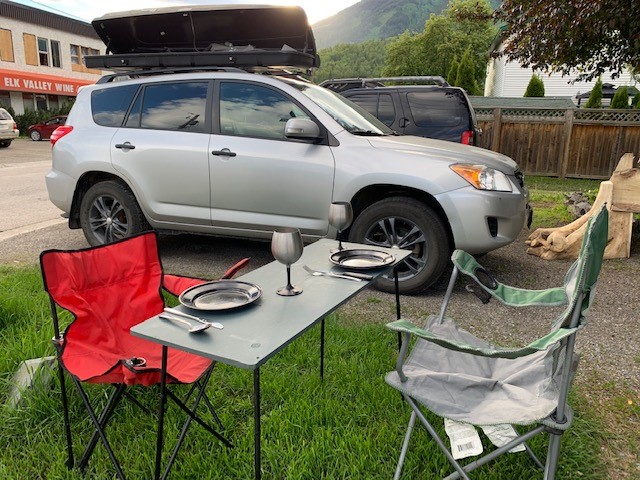
Micro Camper - the Camper Rav4
Fernie
Aug 29, 2018 - Mar 14, 2020
by: Dave

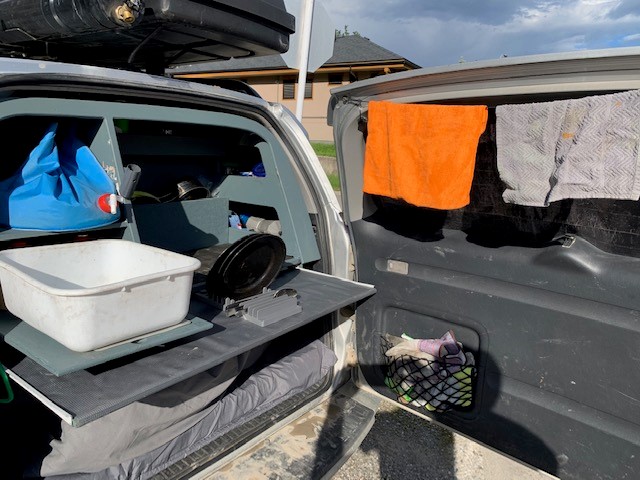
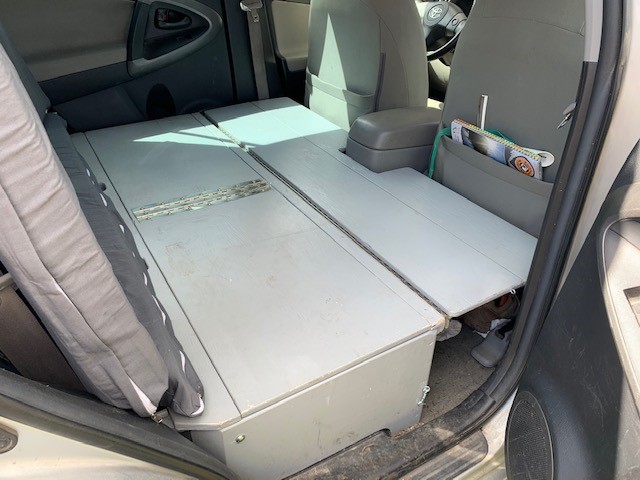
Robin asked me to make us a camper van but could not decide if she wanted a full size van or a mini van. We usually move every night and do longer road trips(when not on lock down) so we thought smaller would be better on gas. We also wanted something that would not be to obvious so that, on long road trips, we could stealth camp roadside without being hassled.

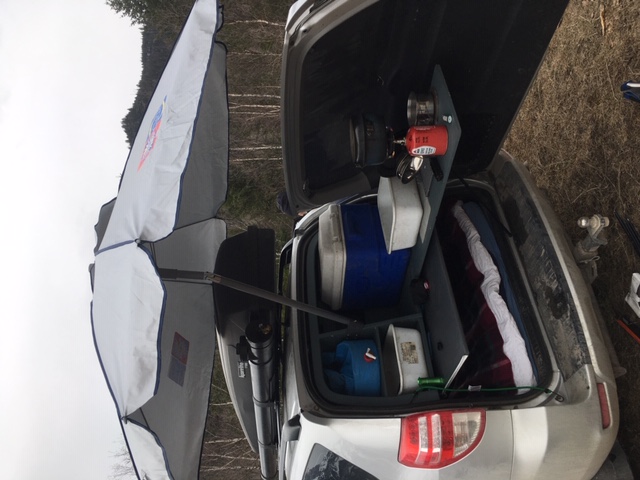
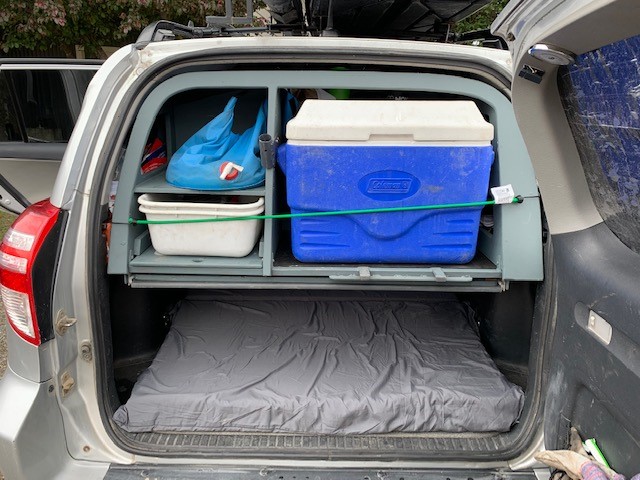
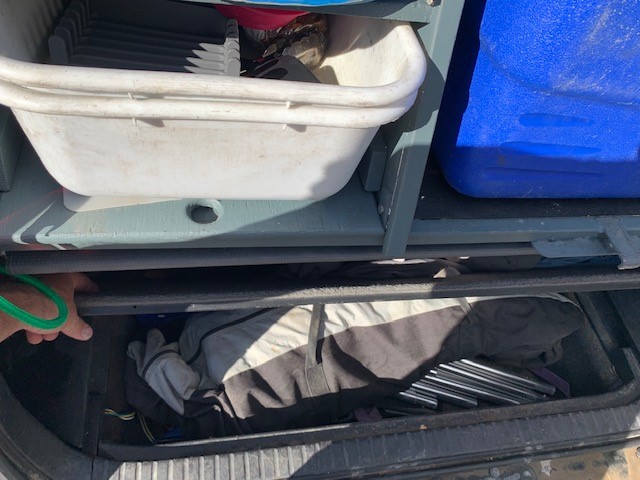
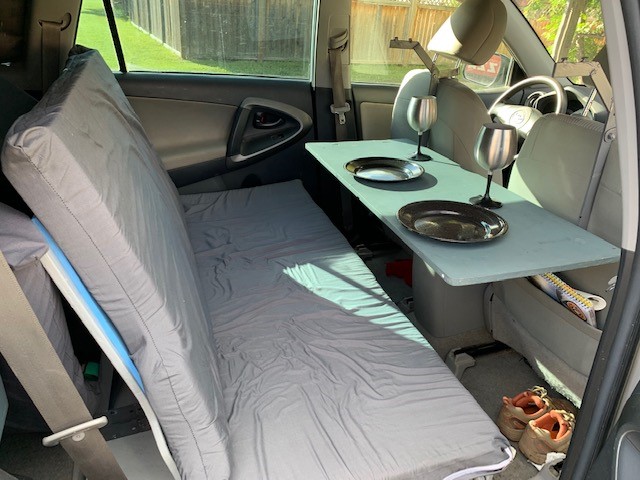
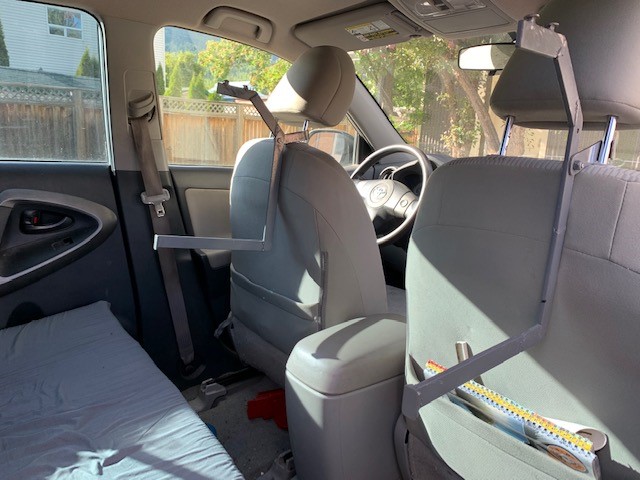
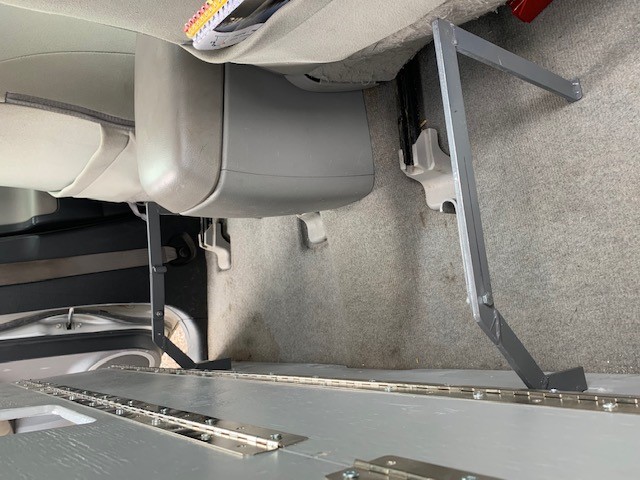
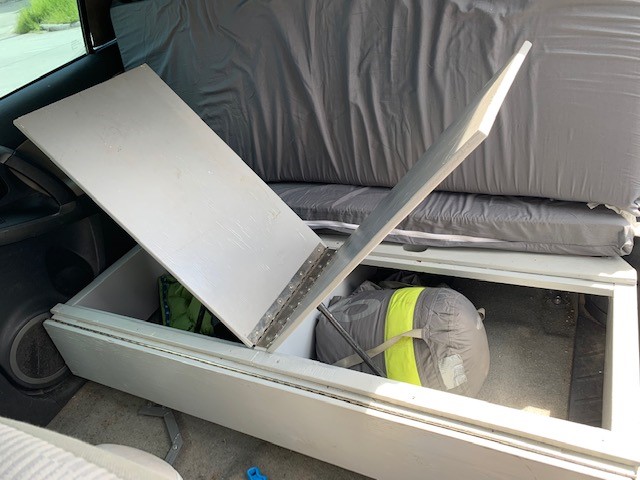
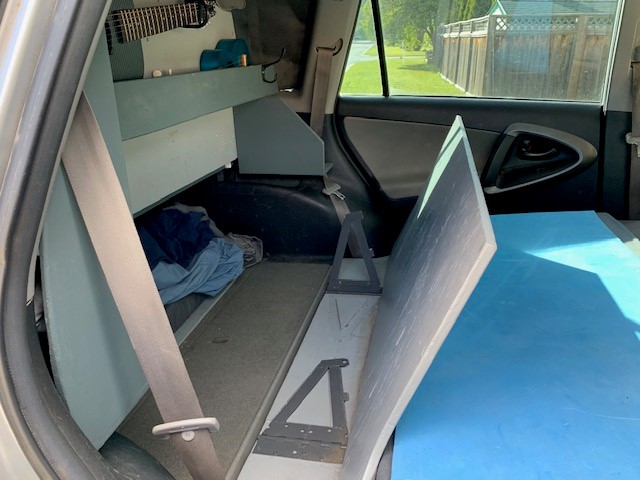
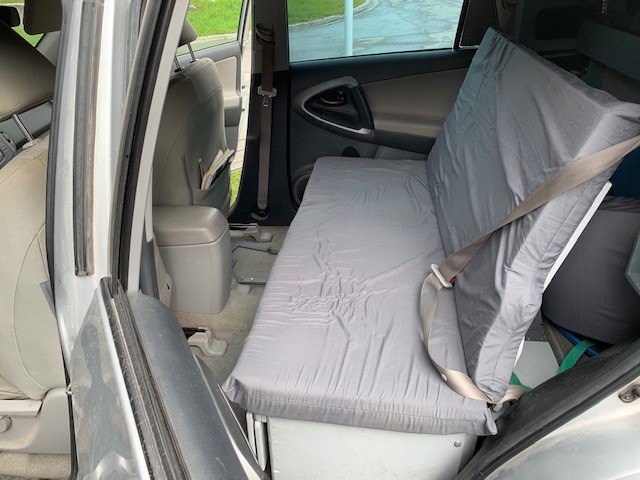
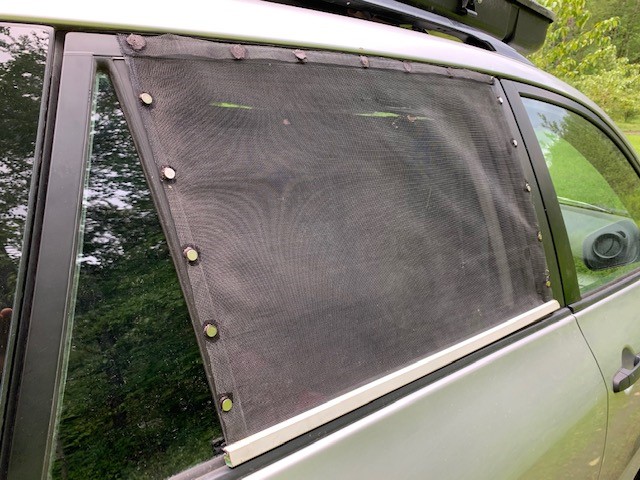
So I converted our Rav4 into a camper with all the usual things a camper has. During the travel restrictions we have been camping lots 5 km out of town. The camper modifications are attached using existing bolt holes so does not damage the car. They can be removed in about 1.5 hours and the back seats can be re-installed to return the car to its original condition.

Stealthy camper
The kitchen is out the back door. This umbrella is stored in the ski box and can be quickly set up for shade or rain. The tarp connects to the umbrella for a private shower if needed.
The kitchen is suspended above the feet area of the bed giving more foot room and also allowing access to the in-floor storage.
The Rav has in-floor storage. We keep the tarp, table legs, axe, camping gear there for easy access.
There are two pull-out shelves under the kitchen; one full width that becomes a kitchen counter, the other is for the sink (dish pan). There is also a mini drying rack and a rag line that stows away in the kitchen.
The cooler gets set on the ground during use for easy access. All the dishes, cutlery, pots and pans, cook stove, espresso maker, spices, dish washing supplies, etc., are stowed behind the cooler. Fuel for the stove is stored behind the sink and the wine glasses are stored behind the water. 4-5 days worth dry food is stored in the cupboard on the drivers side.
Water for cooking and drinking is stored in a water bag. The sink pulls out on a shelf to catch the water. The bag can easily be brought to a tap to refill. On road trips a square water jug fits also. The advantage of the bag is that it can also be used for hiking.
This table has multiple uses and is stowed on top of the pull out table when not in use. It attaches to the kitchen and the bumper so it does not need level ground. In the image shown it is set up to make an "L" shaped counter workspace. Camp stoves are used to cook on. One advantage of that is we do not have to carry a separate stove for backpacking outings on our road trips. I installed an additional LED light over the kitchen for night cooking. I also replaced the interior dome lights with low watt LED bulbs so that car battery does not go dead.
The "L" counter can accept legs to be used and picnic table for two. Or, as a prep table away from the car.
If the weather is not good or it is too buggy, the table can be hung from the seat back and we can eat dinner airplane style from the back seat..
These bracket are what the table hang from and are also used to convert the back seat into a bed.
The brackets attach to the back seat as supports for the bed extension. The extension double folds on piano hinges to tuck away against the seat.
I have been calling this area a back seat but actually I removed the seat and have replaced it with this box/ back seat/ bed frame. Here is the bed extension in place.
The reason I replaced the seats with a box is it gives a bunch of additional storage inside the back seat/bed. Sort of like a captain's bed.
I made these brackets on a hinge to hold the seat back in place. The seat back gets locked in the upright position with a carabiner. The brackets fold away under the seat back when it is in the bed position.
I don't think I would want to do a long trip on the seat but it does have seat belts for bringing two extra people for a short drive.
The bed is 6'8'' long with your feet under the kitchen. The kitchen is high and short enough that you can lift your knees up without touching. Our 65lbs dog likes to sleep at our feet in the corner under the kitchen. There are some small shelves on above the feet. We keep my travel guitar and robin's ukulele there. The dresser shelves are handy for headlamps, glasses, water bottles, etc while sleeping.The curtains are on a bungy and can be quickly clipped in place onto the sun visor and the 3rd row seat belt attachment on the roof. They are grey like the interior of the car so not very obvious through the windshield at night.
This bug screen attaches with magnets so the window can be opened. I still need to figure out how to make the open window rain proof.
This is a roof-top solar shower. Water is loaded through the screw off clean-out cover. That can be done by a hose of by using the dish pans from a creek. Our emergency tire compressor is connected to the pipe and plugged into the the cigarette lighter to give water pressure. This shower head screws onto the valve.
The system holds 7L of water and last about 3 minutes running at full pressure. The pressure is similar to a low-flow home shower. I measured the water temp 35c on  a partially cloudy 21c day. I am sure it would be too hot on a full sun, warmer day. Cold water could be added to cool it off. One option is to boil a pot of water on the cook stove and mix it in to get warm water on a cloudy day.
I fabricated this bike rack that is narrow enough to fit two bikes even with the ski box and solar shower. It also has an attachment to replace robins bike with the tandem bike.
A board attaches to this fold out stool to make a coffee table for around the fire. The same tarp that attaches to the umbrella is uses around the fire on rainy days. It is also small enough to take on the hiking overnight trips.
I made this mini grill for campfire cooking. It is big just enough for the two of us. The legs screw off so it can easily fit in the cupboard for storage. It is small enough to be picked up with the tongs so it can be re-positioned to adjust the heat or to rotate the food.